Plumbytes Anti-Malware uninstall guide
How to uninstall Plumbytes Anti-Malware
This is a short guide on how to quickly uninstall Plumbytes Anti-Malware from Windows 10 operating system. By following the steps of this user manual, you will remove the application quickly.

1. To remove Plumbytes Anti-Malware, you must close it first. Otherwise, the Windows OS will not allow you to do that.
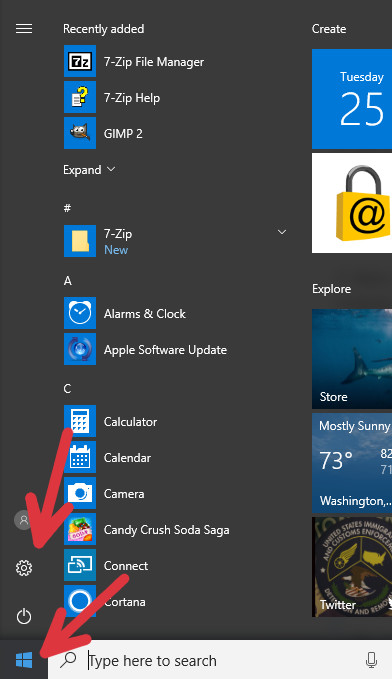
2. First of all, you need to navigate your mouse at the bottom of the screen and click the Windows icon. Then, find a gear-shaped icon and press it.
3. You will be redirected to Windows 10 operating system settings page. Now you have to press on the icon that says “Apps”.

4. The PC will show you all the software installed on your computer. It is presented as a long list.
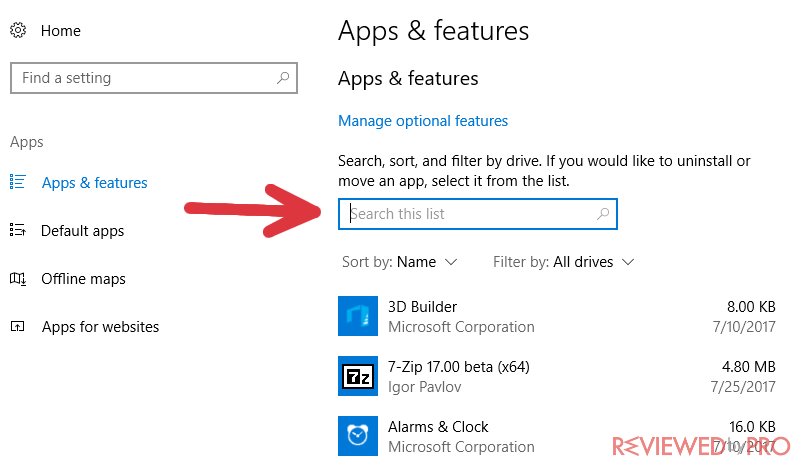
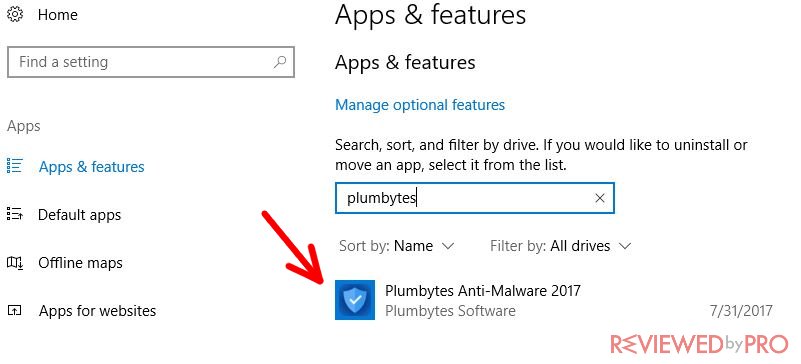
5. You need to find Plumbytes Anti-Malware and click on it. You can use the search function – just type “plumbytes” and you will be able to see the application in no time.
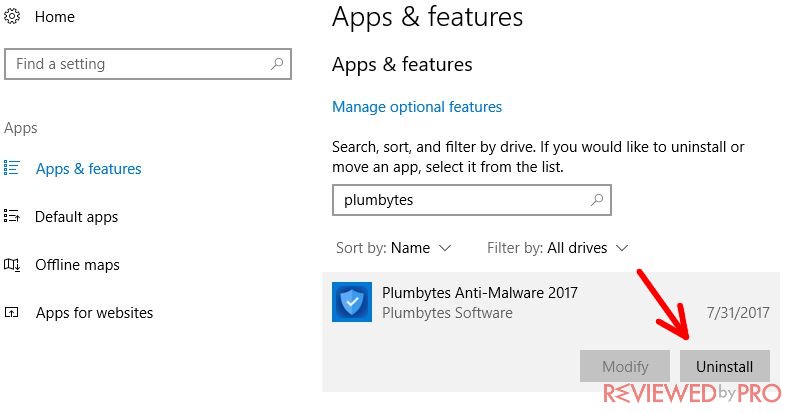
6. After you press the icon of the application, you will see two buttons – Modify and Uninstall. You should click the button that says “Uninstall”.
7. Confirm that you want to eliminate the application by pressing “Uninstall” once again.
8. Now you will see a new table in which you have to confirm your choice.
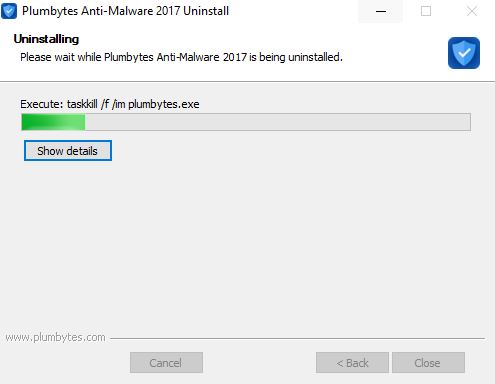
9. Now the system will uninstall the anti-malware tool from your computer. It should last only for a few seconds.
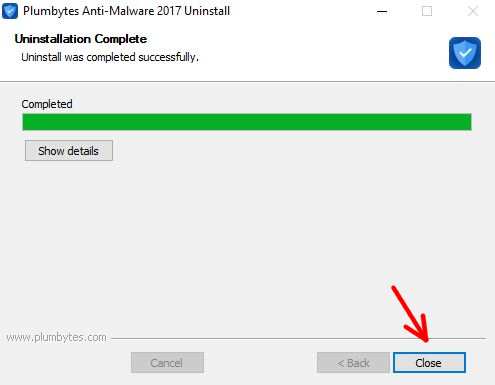
10. After the process is finished, click “Close”.
After Plumbytes Anti-Malware removal, you might get an offer to buy it for half the price. If you want this application on your computer system, you can buy it now with a huge discount.
We hope that this uninstallation guide was useful to you! Remember to always keep an anti-malware program running on your computer in order to protect yourself and your family.


