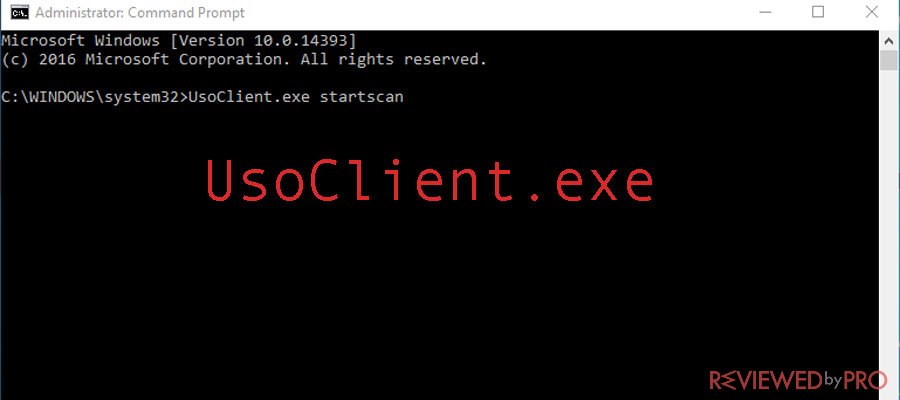
If every time when you start Windows 10, you notice a brief CMD popup in the unsoclient.exe process, you should read this article and find out more about this executable. The UsoClient executable is called through Task Scheduler that is why it appears on the computer screen. It is normal if the usoclient.exe CMD prompt appears for under 1 second. However, a WU (Windows Update) bug also can cause the executable to remain on the screen.
The usoclient.exe process can couse potential security threats
Usoclient.exe is a genuine part of WU that is used to look for updates automatically. USO, which stands for Update Session Orchestrator replaces the Windows Update Agent on Windows 10 operating system. The usoclient.exe process is responsible for running tasks that scan, install or resume Windows updates.
According to Kevin Arrows, no associated malicious application is capable of posing as the UsoClient executable. However, a malware program could potentially pose as system file with elevated privileges. In order to verify this scenario, users have to open Task Manager and locate usoclient.exe in the processes list. Further, right-click on the useclient.exe process and select Open File Location.
If the disclosed location is not C:/Windows/System32/, then your system potentially struggles with a system infection.
Removing the usoclient.exe process might cause unwanted behaviors. In addition, users will likely find out that their operating system will promptly recreate the file at the next startup. That is why we would not recommend you to delete it.
What we would recommend is to disable the program or, even better, start by letting Windows Troubleshooter fix the vulnerability that leads to the CMD prompt of UsoClient.
Do not forget that disabling the usoclient.exe will likely prevent OS from staying updated.
Disable the usoclient.exe
Method 1: Run Windows Troubleshooter
There are opinions that running the Windows Update Troubleshooter can fix the UsoClient issue. However, this method would work for you if the usoclient.exe CMD prompt appears on your screen indefinitely.
- Click on Windows key + R in order to access a Run window and type ‘ms-settings:troubleshoot’, select Enter and open the Troubleshoot tab of Windows 10 Settings.
- Select Windows Update and choose Run the troubleshooter.
- Follow the on-screen prompts in order to trigger the repair strategies. When the process will complete, restart your PC if it won’t restart automatically.
If the first method has not resolved the problem, check the second one.
Method 2: Disable the usoclient.exe process from Group Policy Editor
Users should keep in mind that this method is not recommended without an apparent reason. However, it is possible to prevent the UseClient CMD prompt from popping up by disabling the usoclient.exe process from Group Policy Editor.
- Click on Windows key + R in order to access a Run command and type ‘gpedit.msc’. Open the Local Group Policy Editor by pressing Enter.
- Then, navigate to Task Scheduler Library > Microsoft > Windows > UpdateOrchestrator by using the left pane.
- After the UpdateOrchestrator folder is opened, move over to the center pane and select Schedule Scan task.
- Further, move over to the right pane and under Selected item select Disable.
- Finally, close the Local Group Policy Editor and restart your PC. After you restart it the UsoClient.exe CMD pop won’t longer appear.
Method 3: Disable the usoclient.exe process using Registry Editor
- Press Windows key + R and access a Run window. Type there ‘regedit’ and press enter to access Registry Editor.
- Navigate to HKEY_LOCAL_MACHINE\\SOFTWARE\\Policies\\Microsoft\\Windows\\WindowsUpdate\\ AU.
- Select AU folder and move over to the right panel. Then right-click on a free space and select New>Dword (32-bit) Value. Now you have to rename the created value to NoAutoRebootWithLoggedOnUsers.
- Double-click on the newly created value and set it to 1.
- Close Registry Editor and restart your computer.
Note: If you want to revert the system to the normal behavior, you have to return to Registry Editor and navigate to HKEY_LOCAL_MACHINE \\ SOFTWARE \\ Policies \\ Microsoft \\ Windows \\ WindowsUpdate\\ AU and delete the NoAutoRebootWithLoggedOnUsers entry or set it’s value to 0.


